When you need an impressive dessert that requires minimal effort and zero oven time, no-bake Oreo truffles are the answer to your prayers. These delightful little spheres of chocolate bliss combine crushed Oreos with cream cheese, then get coated in smooth melted chocolate for a treat that rivals anything from a professional candy shop.
With just three simple ingredients and about twenty minutes of hands-on time, you can create dozens of elegant truffles that look sophisticated but are incredibly easy to make.
Whether you’re preparing treats for a party, seeking a last-minute dessert solution, or looking for a fun activity to do with kids, these no-bake Oreo truffles deliver spectacular results without the stress of traditional baking.
Why This Recipe Works
The beauty of these no-bake oreo truffles lies in their simplicity and foolproof nature. Since there’s no baking involved, you eliminate the risk of burnt edges, undercooked centers, or oven temperature issues. The Oreos provide both the cookie crunch and chocolatey flavor, while the cream cheese binds everything together with a smooth, creamy texture that melts in your mouth.
These truffles are also incredibly versatile. You can customize them for any occasion by changing the coating chocolate or adding different toppings. They store beautifully, making them ideal for advance preparation when you’re planning parties or need homemade gifts. The combination of cookies and cream flavors appeals to virtually everyone, from children to adults, making them a universally loved treat.
Ingredients You’ll Need for no-bake oreo truffles
For the Truffle Base
- 1 package (14.3 ounces) Oreo cookies (regular or any flavor variation)
- 8 ounces cream cheese, softened to room temperature
- 1 teaspoon vanilla extract (optional, for enhanced flavor)
For the Coating
- 16 ounces chocolate melting wafers, chocolate chips, or chocolate bark
- 1 tablespoon coconut oil or vegetable shortening (optional, for smoother coating)
Optional Toppings and Decorations
- Crushed Oreo crumbs
- Sprinkles
- White chocolate drizzle
- Crushed candy canes
- Sea salt flakes
- Chopped nuts

Step-by-Step Instructions
Preparing the Oreo Mixture
Begin by crushing your Oreos into fine crumbs. You can do this several ways: pulse them in a food processor until they reach a sand-like consistency, place them in a sealed plastic bag and crush them with a rolling pin, or use a blender. The goal is to create uniform crumbs with no large chunks remaining. This ensures your truffles will have a smooth texture and hold together properly.
In a large mixing bowl, combine the Oreo crumbs with the softened cream cheese. If you’re using vanilla extract, add it now. Using a hand mixer or sturdy spoon, blend the mixture until everything is thoroughly combined. The mixture should look like a thick, uniform dough with no visible streaks of cream cheese. This process takes about two to three minutes with a mixer or five minutes by hand.
Shaping the Truffles
Line a baking sheet with parchment paper or a silicone mat. Using a small cookie scoop or tablespoon, portion out the Oreo mixture into equal amounts. A one-tablespoon scoop creates nicely sized truffles, yielding approximately 40 to 45 pieces.
Roll each portion between your palms to form smooth balls. If the mixture is too sticky, lightly dust your hands with powdered sugar or chill the mixture in the refrigerator for 15 minutes before rolling. Place each formed ball on the prepared baking sheet, spacing them about an inch apart.
Once all truffles are shaped, place the baking sheet in the refrigerator for at least 30 minutes. This chilling time is essential as it firms up the truffles, making them much easier to coat in chocolate without falling apart.
Melting and Coating
While the truffles chill, prepare your chocolate coating. Place the chocolate in a microwave-safe bowl and heat in 30-second intervals, stirring thoroughly between each interval. Continue until the chocolate is completely smooth and melted. If you want a thinner coating that sets with a nice shine, stir in the coconut oil or shortening.
Alternatively, you can melt the chocolate using a double boiler. Fill a saucepan with about two inches of water and bring it to a simmer. Place a heat-safe bowl over the saucepan, ensuring the bottom doesn’t touch the water. Add the chocolate and stir continuously until melted.
Remove the chilled truffles from the refrigerator. Working with one at a time, drop a truffle into the melted chocolate. Using a fork or dipping tool, roll it around to coat completely, then lift it out, allowing excess chocolate to drip back into the bowl. Gently tap the fork on the edge of the bowl to remove additional excess chocolate.
Transfer the coated truffle back to the parchment-lined baking sheet. If adding toppings like sprinkles or crushed Oreos, apply them immediately while the chocolate is still wet. Repeat this process with all remaining truffles.
Setting the Chocolate
Once all truffles are coated, return the baking sheet to the refrigerator for 15 to 20 minutes to allow the chocolate to set completely. The coating should be firm to the touch and no longer glossy when ready.
Expert Tips for Perfect Truffles
Room temperature cream cheese is crucial for smooth mixing. Cold cream cheese will leave lumps and make combining difficult. Take the cream cheese out of the refrigerator about an hour before you begin.
If your chocolate coating seems too thick, thin it with a small amount of coconut oil or vegetable shortening. Add just a teaspoon at a time until you achieve a smooth, dippable consistency.
Keep your hands cool while rolling the truffles. If they become too warm, the mixture will stick excessively. Have a bowl of cold water nearby to quickly cool your hands between rolling.
For the neatest appearance, use a proper chocolate dipping fork or a regular fork with the two middle tines removed. This allows excess chocolate to drip through while supporting the truffle.
Creative Variations to Try
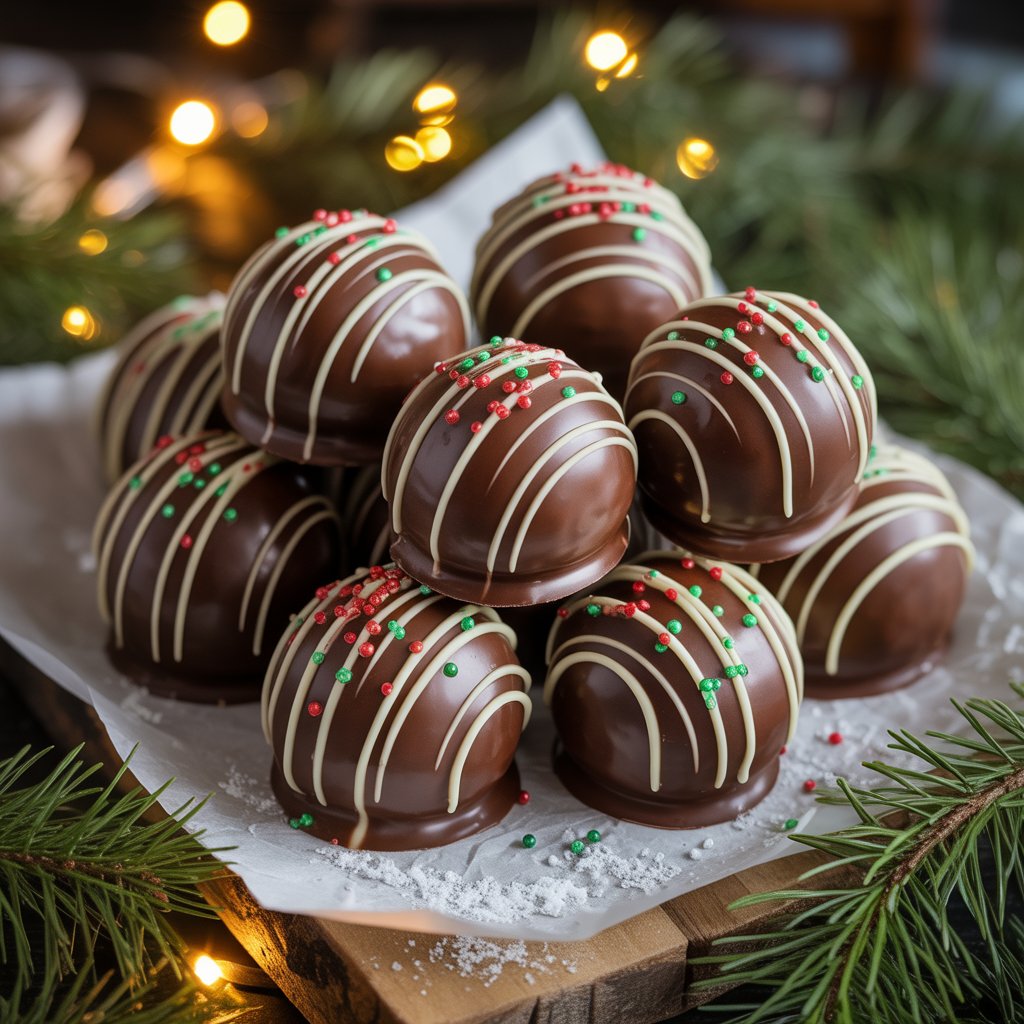
Create different flavor profiles by using specialty Oreo varieties. Mint Oreos make refreshing truffles perfect for the holidays, while peanut butter Oreos add a nutty richness. Golden Oreos create a vanilla-flavored truffle with a lighter appearance.
For a stunning two-tone effect, coat half your truffles in dark chocolate and the other half in white chocolate. You can also dip them in one color and drizzle with another for an elegant contrast.
Add a tablespoon of flavored extract to your cream cheese mixture for customized flavors. Peppermint extract creates festive holiday truffles, while almond extract adds sophisticated depth.
Roll the truffle mixture into different shapes like logs, hearts, or eggs depending on the occasion. These shape variations make them perfect for holidays like Valentine’s Day or Easter.
Storage and Make-Ahead Instructions
Store your no-bake Oreo truffles in an airtight container in the refrigerator for up to two weeks. Layer them between sheets of parchment or wax paper to prevent sticking. Before serving, let them sit at room temperature for about 10 minutes for the best texture and flavor.
These truffles freeze beautifully for up to three months. Arrange them in a single layer in a freezer-safe container with parchment paper between layers. Thaw in the refrigerator overnight before serving.
You can prepare the truffle balls up to three days in advance and store them uncoated in the refrigerator. Coat them in chocolate on the day you plan to serve or gift them for the freshest appearance.
Serving and Presentation Ideas
Arrange these no-bake oreo truffles on a decorative platter or in mini cupcake liners for an elegant presentation. They’re perfect for dessert tables, cookie exchanges, or holiday parties. Their bite-sized nature makes them ideal for events where guests want to sample multiple treats.
Package them in clear cellophane bags tied with ribbon for thoughtful homemade gifts. Small decorative boxes lined with tissue paper also create beautiful presentations for special occasions. Include a small card with storage instructions to help recipients enjoy them at their best.
Serve these truffles alongside coffee, hot chocolate, or dessert wine for an indulgent after-dinner treat. They pair wonderfully with vanilla ice cream or can be chopped and used as a topping for cakes and cupcakes.
Nutrition Information
Per serving (based on 40 truffles):
- Calories: 110
- Total Fat: 6g
- Saturated Fat: 3g
- Cholesterol: 6mg
- Sodium: 75mg
- Total Carbohydrates: 13g
- Dietary Fiber: 0.5g
- Sugars: 9g
- Protein: 1g
Note that nutrition values are approximate and will vary based on the type of chocolate used for coating and any additional toppings.
Conclusion
These no-bake Oreo truffles prove that impressive desserts don’t require complicated techniques or lengthy preparation times. With their rich chocolate flavor, creamy texture, and professional appearance, they’ve become a go-to recipe for home bakers everywhere. The three-ingredient simplicity means you can whip up a batch whenever the craving strikes or when unexpected guests arrive.
From birthday celebrations to holiday gatherings, these versatile truffles adapt to any occasion with simple coating and topping variations. The fact that children can help make them adds to their appeal, creating opportunities for quality time in the kitchen. Once you experience how easy and delicious these no-bake Oreo truffles are, they’ll become a permanent fixture in your recipe collection, ready to save the day whenever you need a quick, crowd-pleasing dessert that tastes absolutely divine.

No-Bake Oreo Truffles Recipe: 3 Ingredients in 20 Minutes
40 truffles
servings20
minutes45
minutes110
kcalThese easy no-bake Oreo truffles require just three ingredients and come together in minutes. Creamy, chocolatey, and coated in smooth melted chocolate, they’re perfect for parties, gift-giving, or whenever you need a quick impressive dessert.
Ingredients
1 package (14.3 ounces) Oreo cookies
8 ounces cream cheese, softened
16 ounces chocolate melting wafers or chocolate chips
1 tablespoon coconut oil (optional, for smoother coating)
Optional Toppings
Crushed Oreo crumbs
Sprinkles
Sea salt flakes
White chocolate for drizzling
Directions
- Place Oreo cookies in a food processor and pulse until they become fine crumbs. You can also place them in a sealed plastic bag and crush with a rolling pin.
- In a large mixing bowl, combine the Oreo crumbs and softened cream cheese. Mix with a hand mixer or sturdy spoon until thoroughly combined and no streaks of cream cheese remain.
- Line a baking sheet with parchment paper. Using a small cookie scoop or tablespoon, portion out the mixture and roll into smooth balls between your palms.
- Place the formed truffles on the prepared baking sheet and refrigerate for 30 minutes until firm.
- Melt the chocolate in a microwave-safe bowl in 30-second intervals, stirring between each interval, until completely smooth. If desired, stir in coconut oil for a thinner coating.
- Remove truffles from the refrigerator. Using a fork, dip each truffle into the melted chocolate, coating completely. Tap the fork gently on the bowl edge to remove excess chocolate.
- Return coated truffles to the parchment-lined baking sheet. If using toppings, sprinkle them on immediately while chocolate is wet.
- Refrigerate for 15 to 20 minutes until the chocolate coating is completely set and firm to the touch.
- Serve chilled or at room temperature. Store in an airtight container in the refrigerator.
Recipe Video
Notes
- Store truffles in an airtight container in the refrigerator for up to two weeks. Layer between sheets of parchment paper to prevent sticking. Let them sit at room temperature for 10 minutes before serving for the best texture.
For longer storage, freeze in a single layer in a freezer-safe container for up to three months. Thaw overnight in the refrigerator before serving. - Arrange truffles in mini cupcake liners on a decorative platter for parties and special occasions. They make beautiful homemade gifts when packaged in clear cellophane bags tied with ribbon or placed in small decorative boxes.
Serve alongside coffee, hot chocolate, or dessert wine for an indulgent treat. They also pair wonderfully with vanilla ice cream or can be used as cake toppers.